Scrap Wood Art Project
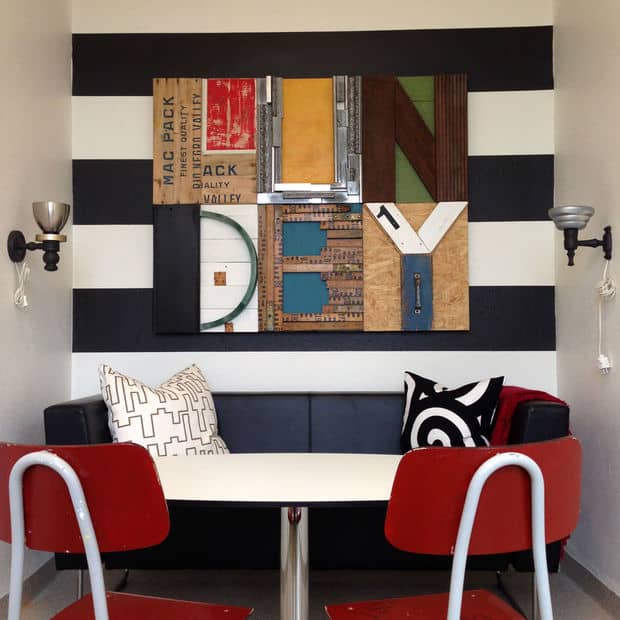
We love to work with scrap wood! It’s plentiful and joins together – with a healthy injection of TLC – to make beautiful pieces of art. We made this one for a youth center. But there’s no reason you couldn’t modify the idea to make something for your home!
Step 1: Getting Started
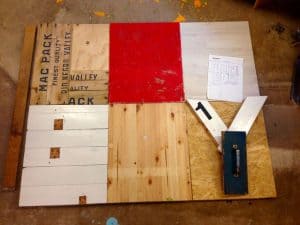 We’re not fancy. We like to sketch our drawings on regular ol’ graph paper which allows us to easily scale up to a large size.
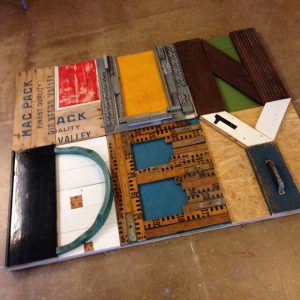
In this case we wanted to create the name of the area of town where this youth center is located. We lucked out that there were 6 letters we could split between 2 levels. We had measured the wall for the art and decided that we wanted it oversized. So we simply drew 6 equal rectangles on the graph paper, then decided a value for each graph box (like 10 inches/cm). You’ll see our sketch in the first photo with this step. You’ll also be able to make out the 6 rectangle spaces that each letter fit within.
After cutting a single backboard to build up from, and then cutting the 6 rectangles to serve as the backgrounds for each letter, we walked around our studio gathering various materials that we thought could work to create the letters, themselves. It is a process that takes time – so don’t be in a rush to get this part over with. This is where you should take all the time you need to find just the right materials. That’s the difference between making…and creating!
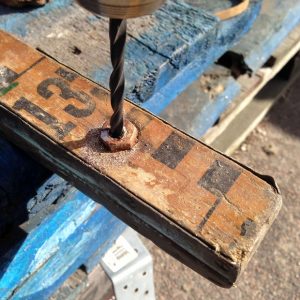 And what’s one of the most important things when working with old materials? Reclaiming those materials! So there’s always lots of unscrewing, sawing, sanding, etc., before you can actually reintroduce old material into a new piece.
Step 2: Take the Time
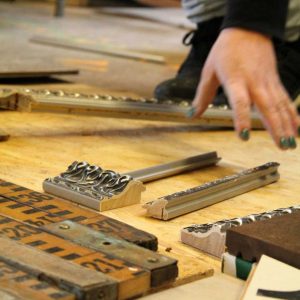
As we said before…it’s so very important to take the time necessary to find the right materials, the right combinations of texture, the right color combos, etc., etc. And it may not happen the first go ’round, either. Our final combination of parts and colors for this piece was the result of over a week of collecting, sampling, painting, shifting and more. Not full time, of course, but on and off over the course of a week. Just keep working on it until you get that ‘Aha’ moment when everything finally works together. It’s like a puzzle, moving parts and pieces around until they fit.
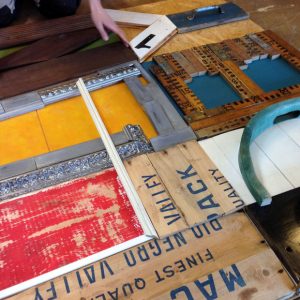 We can also say that block letters tend to work best with this kind of scrap wood art. The fewer the curves the better.
Step 3: Putting Your Parts Together
Once you’ve hunted and gathered and shifted and combined…you’ll be ready to glue, nail, and screw your pieces into place. We chose to glue for the most part, and then anywhere that we needed to secure the letters more we chose to use either a nail gun or screw from the back side so that we wouldn’t have a lot of metal heads showing from the front. First you’ll want to glue your 6 letter backboards to the single large backboard. Let that dry overnight before your start adhering parts for your letters.
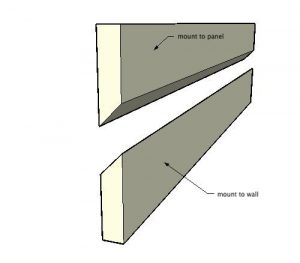
 Depending on the size you choose, how many letters, and what kinds of materials, your final pieces can end up being pretty heavy – like ours was. We deciced to DIY our own wooden french cleats – one piece gets screwed to your art, the other piece gets screwed on the wall. We made a french cleat for the top of the art piece and another for the bottom. In that way we were basically able to just lift our artwork to the wall and lower it down so that the 2 parts of the french cleat rest on each other. Here’s an old but very easy to understand video if you want to have a look. French cleats are a great way to hang heavy pieces onto walls (art, headboards, mantles, etc.) without having to screw through the front of your pieces.
Step 4: Give Yourself a Mental High-Five
Now it’s time to stand back, admire, and give yourself a mental high-five. If your fellow creators are standing nearby feel free to make those high-fives real.
Can you see the kinds of materials we used in this piece?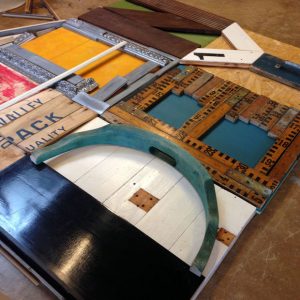
Scrap wood of every sort for the 6 equal backboards for the letters
An old wooden box
Frame parts
Deck wood
A panel from an old piano (black)
The curved back support from a wooden chair
A large vintage measure stick
A drawer front
Other items used:
Paint
Wood glue
Screws
Nail Gun
A healthy dose of ‘why not’
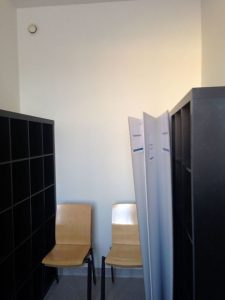
We’re showing a before picture of the wall/room where the art hangs – as well as an after pic once we got our hands on it to create some bold black and white stripes and furnish this little meeting space with 100% reclaimed furniture they had on site. We added a pair of mismatched wall lamps that we painted, a thrifted high quality wool rug, and some cushy pillows made from reclaimed fabrics. Sustainable reuse design at its best!
 Want to see more from this project? Have a look here on our website.
Repurposed content with permission from Instructables member recreatedesignco.
And then some,
Your Friends @ OBP

Recent Comments